How to set timer on iphone camera?The iPhone camera is a powerful tool for capturing memories, and knowing how to use its features can greatly enhance your photography. One such feature is the camera timer, which allows you to set a delay before a photo is taken. This is perfect for group photos when you want everyone in the picture, including the photographer. Below are some practical tips on how to set timer for iphone camera on your iPhone camera, use it effectively, and take stunning photos that look as if they were shot by a professional.
Setting the Stage for the Perfect Shot
Choosing Your Scene and Framing
Before you even touch the timer in iphone camera, select an engaging scene for your photograph. Look for good lighting, interesting backgrounds, and the right angle. Frame your shot by moving around the scene, paying attention to what will be in the foreground and the background when the timer goes off. Keep in mind the rule of thirds for a balanced composition- this is where you imagine your scene divided into nine equal parts and place the most important elements along these lines or at their intersections.
Preparing Your iPhone
Make sure that your iPhone is charged and has sufficient storage to avoid interruptions during your photo session. Clean the camera lens with a soft cloth to ensure your photos are crystal clear. If you’re going to be in the shot, position your iPhone on a stable surface or a tripod adjusted to the desired height. Ensure the camera is securely mounted, and the framing is as you want it to be for the photograph.
Activating the Timer on Your iPhone Camera
Locating the Timer Function
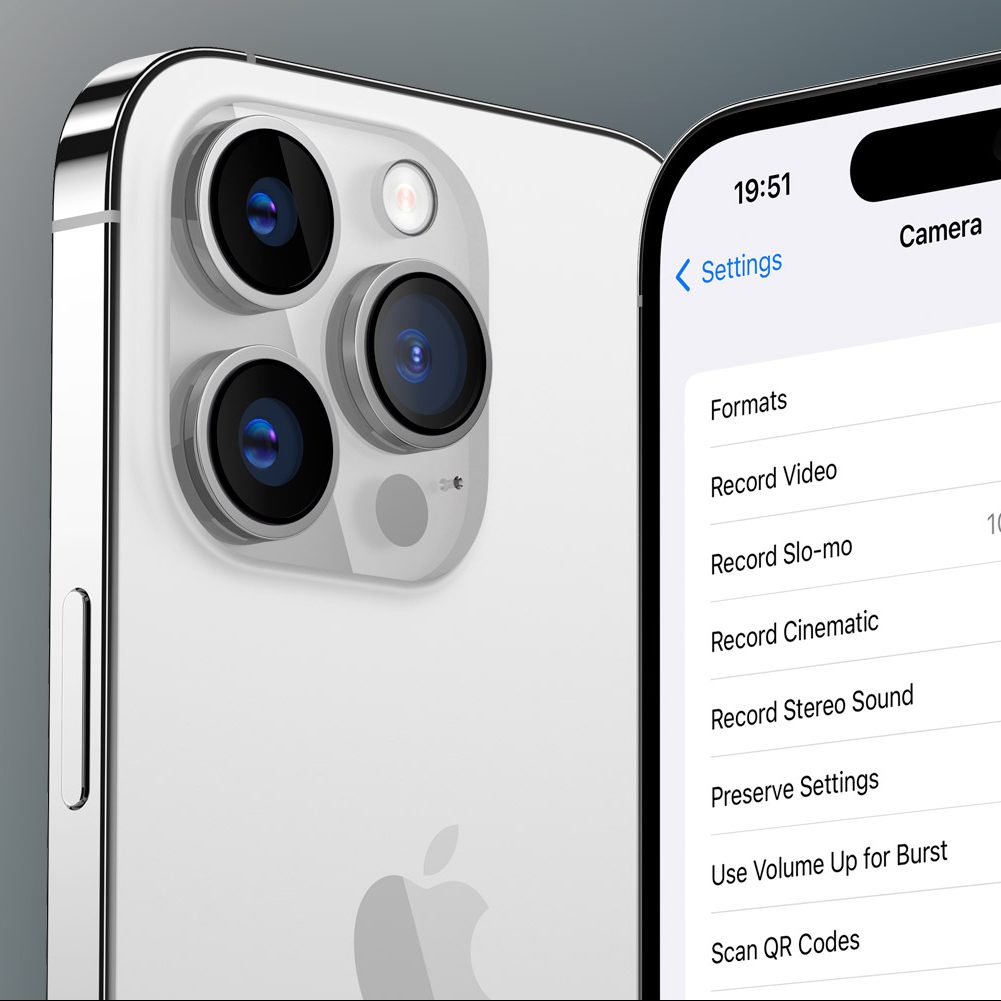
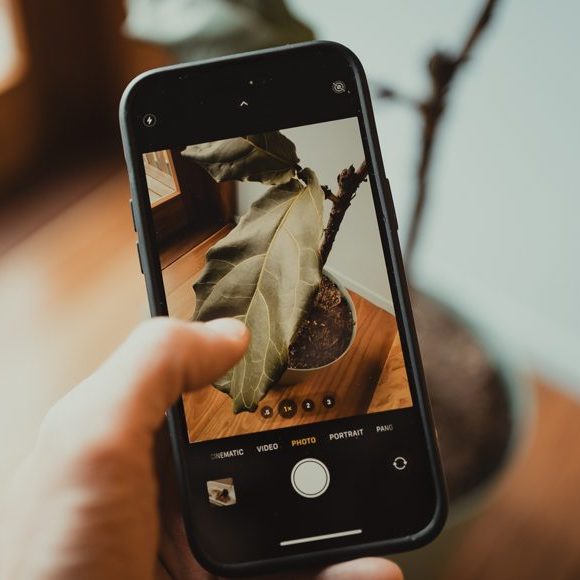
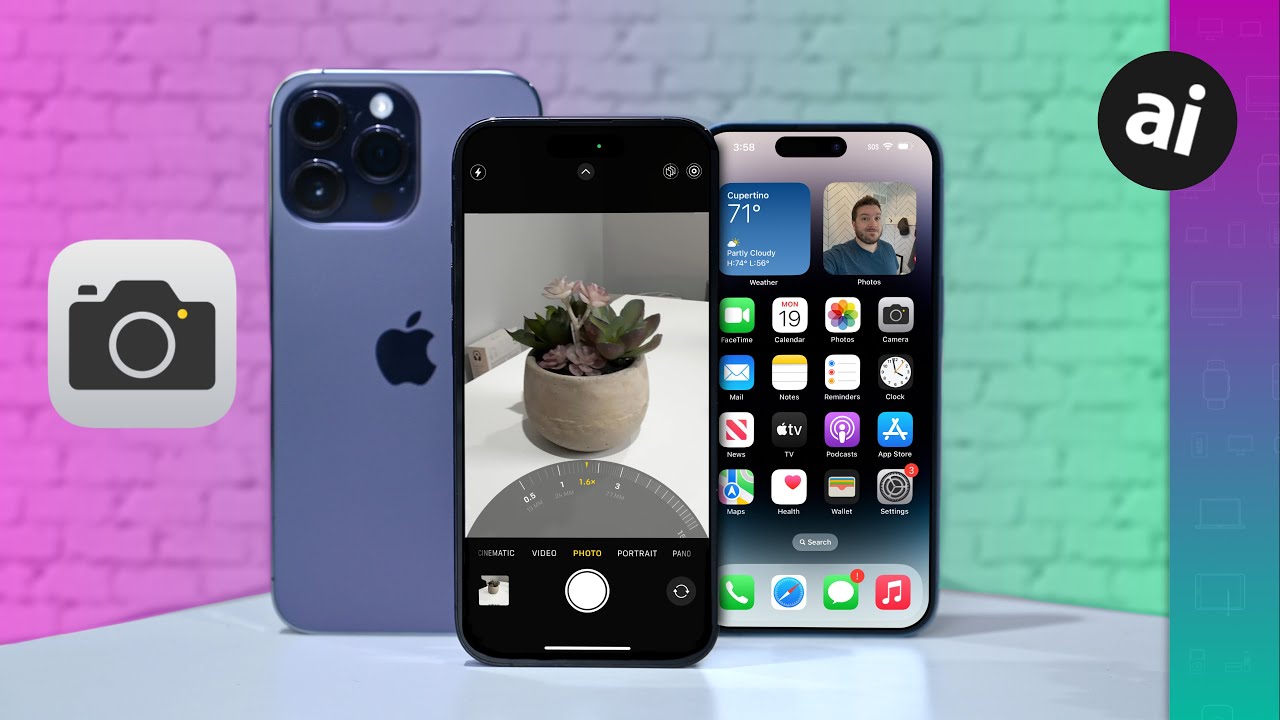
Where is the timer on iphone camera? To set the timer on your iPhone camera, open the Camera app as if you were going to take a picture. Look for the timer icon, which is usually located at the top of the screen (or, for some iPhone models, swipe up on the screen for additional options). The icon resembles a clock with circular arrows. Tapping this icon will bring up the timer options.
Setting the Timer Duration
Upon tapping the timer icon, you will typically have two or three options: no timer, a three-second timer, or a ten-second timer. Decide how much time you need to get into position and prepare for the shot. For quick setups, the three-second timer is usually sufficient. If you need more time to join a group or strike a pose, choose the ten-second timer. Select your preferred duration by tapping on it, and the icon will now display the chosen time duration.
Capturing Your Moment
Initiating the Timer and Taking Position
how to set timer on iphone camera? With the timer set, press the shutter button. You’ll notice a countdown begins at the top of the screen. This is your cue to get into position. Move quickly, but be careful to not knock the iPhone or tripod, especially if you’ve positioned it precariously.
Final Adjustments and Smiles
As the countdown nears its end, make any last-minute adjustments to your pose. Encourage everyone in the shot to smile or adopt the intended expression at the approach of the final seconds.How to set a picture timer on iphone? This coordination helps ensure that all subjects are ready when the camera snaps the picture.
Advanced Tips for Timer Photography
Using Burst Mode with Timer
An often overlooked trick is to use burst mode in combination with the timer. This captures multiple shots in rapid succession, giving you a better chance of getting a photo where everyone looks their best. To use burst mode with the timer, set your timer as described before and hold the shutter button down when you initiate the timer. The camera will then take a burst of photos at the end of the timer countdown.
Enhancing your timer photography with burst mode is a beneficial technique for catching the perfect moment. When shooting group photos, for instance, it’s challenging to get the ideal expression from everyone at the same time. Combining the timer with burst mode is an innovative solution that increases your chances of success. After setting the timer, as you normally would, engage the burst mode by pressing and holding the shutter button — this action tells the camera to take a continuous series of images once the timer runs out.
The result is a range of photos taken milliseconds apart, providing a variety of choices and reducing the likelihood of closed eyes or awkward expressions. This technique is also useful in capturing action shots or fleeting moments in nature, like a bird taking flight. When setting up for a burst, be mindful of your camera’s buffer capacity, as extensive bursts may fill it up quickly. Always preview the number of images your camera can handle to avoid missed opportunities, and ensure that your memory card has ample space to store multiple high-resolution images.
External Remotes and Accessories
For even greater control over your timed photos, consider using external remotes that connect via Bluetooth. These allow you to start the timer from a distance and can be especially handy for solo photographers who need to be in the shot. Additionally, using accessories like tripods or phone stands can provide more stability and flexibility in camera placement.
For achieving optimal timing and composition, an external remote is a game-changer in timer photography. Wireless remotes eliminate the race against time that comes with a standard timer, offering you the freedom to trigger the shutter precisely when you’re ready, ensuring you’re in the perfect position or the scene is just as you desire. For solo endeavors or group shots where the photographer wants to be part of the tableau, this level of control can be the difference between a good photo and a great one.
Complementing a remote with the use of accessories such as tripods or reliable stands is essential for ensuring sharp, well-framed images. A sturdy tripod provides a solid foundation, preventing camera shake and allowing for precise adjustments to your desired composition. This is especially useful when working with long exposure times or varying angles that are challenging to achieve by hand. For smartphone photographers, a dedicated phone stand or adapter can provide similar benefits, allowing for a secure and adjustable setup. Investing in these accessories can unlock new creative possibilities and help in executing complex timed shots with professionalism and ease.
Post-Photography: Selecting the Best Shot
Reviewing Burst Photos
If you used the burst mode with your timer, you would have multiple photos to choose from. To select the best shot, view your photo and tap ‘Select’ at the bottom of the screen. Swipe through the photos and pick your favorites. Tap ‘Done’, and you’ll have the option to keep everything or just your favorites, saving storage space.
Editing for Perfection
Take advantage of the iPhone’s editing suite to enhance your timed photos. Adjust the brightness, contrast, and saturation, or apply filters for added flair. Cropping can also help improve composition after the fact if the original framing wasn’t perfect.

Embracing the Power of Preparation
Before diving into the heart of timer photography, embracing thorough preparation sets the foundation for success. Beyond the technical setup, think about the narrative or emotion you want your photo to convey. Choosing the right time of day can drastically affect the mood and quality of your images due to the natural lighting conditions. For instance, the golden hour—shortly after sunrise or before sunset—offers soft, warm lighting that can add magic to your photos. Pre-visualizing your shot and its components not only streamlines the process when you’re on the clock but also increases your chances of capturing that perfect moment. This level of preparation allows photographers to focus more on the creative side rather than scrambling over technicalities when time is ticking.
Maximizing the Environment
Understanding and maximizing your environment plays a crucial role in enhancing the output of your timer photography. Elements like weather conditions, crowds, or even the movement of water can add dynamic layers to your photos. However, they can also pose challenges that require creative problem-solving. If you’re shooting in a public place, for example, consider how passersby might affect your shot. Will they add to the narrative, or do you need to find a way to use angles and timing to minimize their intrusion? Similarly, if you’re capturing a landscape, how can the elements work in your favor? Sometimes, what might seem like a drawback—like overcast weather—can provide a unique mood or softer lighting for your shot. Adapting to your environment and using it to your advantage rather than seeing it as an obstacle is a hallmark of seasoned photographers.
Reflection and Iteration
After the shoot, taking time to reflect on the process and the final photos is invaluable. Reviewing what worked well and what didn’t is a critical step in growing your skills in photography, especially when using features like the iPhone’s timer. Did your preparatory steps pay off as expected? Were there unforeseen challenges that you had to navigate on the fly? Comparing your initial vision to the final product can provide insights into your creative and technical proficiency and highlight areas for further experimentation or learning. Remember, photography is as much about the journey as it is about the destination. Each timed shoot is an opportunity to refine your approach, experiment with new ideas, and move one step closer to mastering the art of capturing fleeting moments with your iPhone.