
In the modern world, home security has become a priority for many homeowners. Among the plethora of options available, light socket security cameras stand out for their innovation, ease of use, and dual functionality. These devices not only illuminate your space but also keep an eye on it, offering peace of mind whether you’re home or away. Installing a light socket security camera is a straightforward process that doesn’t necessarily require professional help. Here’s a step-by-step guide to help you enhance your home’s security with this dual-purpose device.
Choosing the Right Light Socket Security Camera
Consider Camera Features
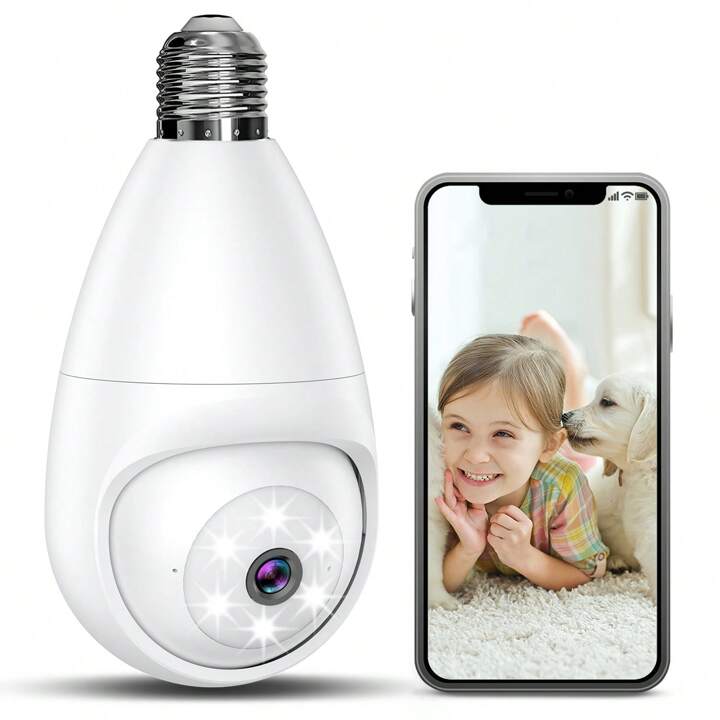
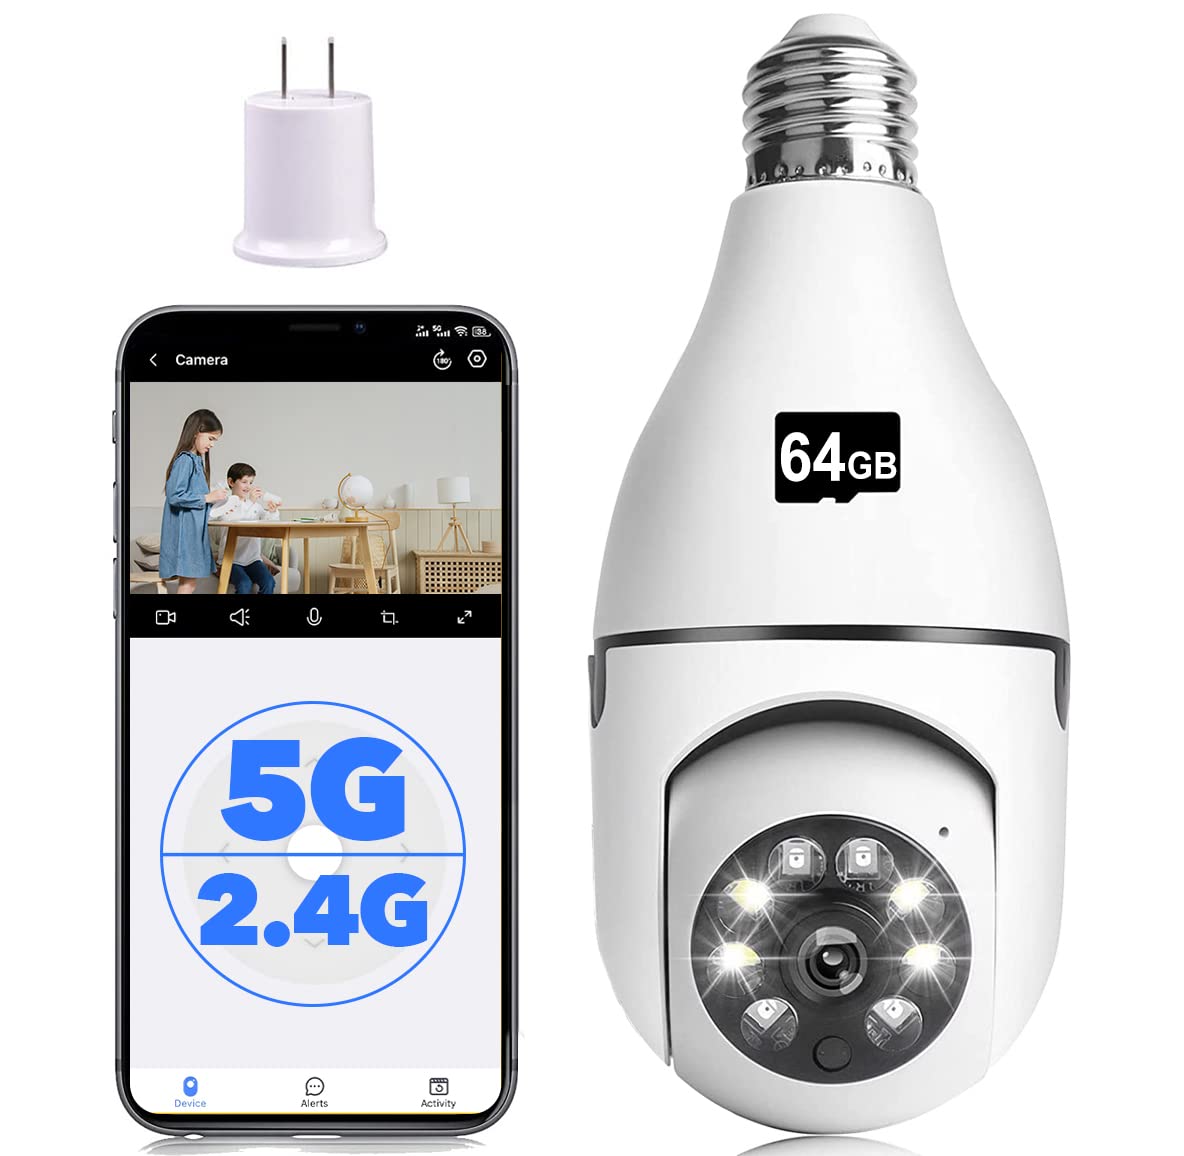
Before purchasing a light socket security camera, assess its features to ensure it meets your needs. Look for high-resolution video, motion detection capabilities, and night vision. Some models offer two-way audio, which allows you to communicate through the camera. Additionally, consider the camera’s compatibility with existing smart home systems for seamless integration.
Evaluate the Installation Location
The effectiveness of a light socket security camera often depends on its location. Choose sockets that provide a wide viewing angle to cover key areas of your home, such as front doors, driveways, or backyards. Ensure the location offers a stable Wi-Fi signal if the camera requires an internet connection to function.
Preparing for Installation
Gather Necessary Tools
Typically, light socket security cameras are designed for easy installation and require minimal tools. However, you might need a ladder to reach high light sockets and a smartphone to connect the camera to your home network. Ensure you have all necessary items on hand before beginning the installation process.
Turn Off Power
Safety should be your top priority during installation. Turn off the power to the light socket at your circuit breaker to prevent any electrical hazards. This simple precaution helps ensure a safe and worry-free installation process.
Installing the Light Socket Security Camera
Remove the Existing Bulb
Start by carefully removing the light bulb from the socket where you plan to install the camera. It’s important to perform this step with the power off to avoid electrical shocks.
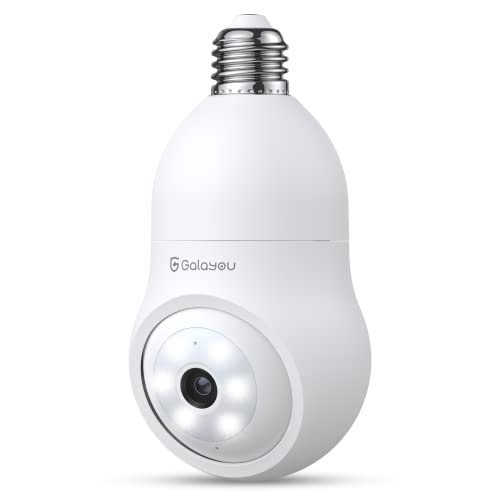
Screw in the Camera
With the old bulb removed, take your light socket security camera and screw it into the socket just as you would with a regular light bulb. Ensure it’s securely fastened, but avoid over-tightening, which could damage the camera.
Restore Power and Test the Camera
Once the camera is securely in place, restore power at the circuit breaker. Follow the manufacturer’s instructions to connect the camera to your home Wi-Fi network and link it with any associated smartphone apps. Test the camera’s functionality, including video feed and motion detection, to ensure it operates as expected.
Configuring and Using Your Camera
Customize Settings Through the App
With the light socket security camera app installed and powered, use the associated app to customize your settings. Adjust motion detection sensitivity, set up activity zones, and configure notifications according to your preferences. Familiarize yourself with the app’s features to maximize your camera’s capabilities.
Regularly Review and Maintain the Camera
To ensure your light socket security camera continues to function effectively, regularly review recorded footage and check the device’s status through the app. Clean the camera lens periodically to maintain video quality, and update the camera’s firmware as recommended by the manufacturer to benefit from the latest features and security patches.
Enhancing Home Security and Peace of Mind
A light socket security camera offers an innovative and efficient way to monitor your home. Its easy installation and smart features make it an attractive option for homeowners looking to enhance security without extensive modifications to their property. By choosing the right camera, preparing properly, and following these installation steps, you can enjoy increased security and peace of mind, knowing your home is under watchful eyes, even when you’re away.
Maximizing Coverage with Strategic Placement
Select Optimal Locations for Broader Coverage
To maximize the effectiveness of your light socket security camera, strategic placement is key. Identify potential blind spots around your home and position cameras to cover these areas. Entrances, windows, and large common areas are ideal locations for broad coverage. By thoughtfully placing cameras, you can ensure comprehensive monitoring of your home’s interior and exterior.
Achieving the pinnacle of security with your light socket security camera begins with careful consideration of placement. The goal is to obtain an expansive view while minimizing blind spots that may offer unwelcome guests areas to hide. Start by walking through your property and identifying key points of ingress, such as doors and ground-level windows, and more expansive areas like the living room or backyard that may require surveillance. The optimal placement allows cameras to work cohesively, providing overlapping coverage that adequately surveils your property. Consider the camera’s field of view and the area’s lighting conditions when deciding where to install them. Also, ensure that cameras are placed out of reach to prevent tampering and at angles that maximize their utility. By crafting a strategic plan for camera placement, you create a network of electronic watchers that together offer a vigilant guard over your home.
Utilize Multiple Cameras for Complete Surveillance
For homeowners looking to achieve complete surveillance, consider installing multiple light socket security cameras throughout your property. This approach allows you to monitor different angles and areas simultaneously, leaving no corner unchecked. Integration with a central management app can help you easily view feeds from all cameras in one place, making monitoring your home more efficient.
Maintaining Your Light Socket Security Camera
Regular Check-ups for Consistent Performance
The regular maintenance of your light socket security camera is a task that pays dividends in the form of reliability and longevity. Routine examinations allow you to catch and address potential issues early on. You should look over the camera for any signs of wear, corrosion, or damage that could impact its performance. Testing the camera’s functionality, like its motion detection and night vision capabilities, is equally important to ensure they are working as expected. Vigilance for signs of trouble, such as odd sounds from the device, grainy or disrupted video feeds, or inconsistent connectivity, is key. These symptoms could suggest internal issues or software glitches that may require a reset or further technical support to resolve. By staying proactive with these regular check-ups, you help safeguard the continuous operation of your camera without interruption.
Keep the Firmware Updated
Manufacturers often release firmware updates for security cameras to enhance functionality or patch security vulnerabilities. Keeping your camera’s firmware up to date is essential for maintaining its security integrity and performance. Regularly check the manufacturer’s website or the associated smartphone app for updates, and install them promptly to benefit from improvements and new features.
Firmware forms the backbone of your security camera screws into light socket’s operating system, and keeping it current is a non-negotiable aspect of camera maintenance. Manufacturers periodically release firmware updates not just to roll out new features but also to close any detected security loopholes. Staying vigilant for such updates is a critical part of your camera’s upkeep. You can keep abreast of these developments by regularly visiting the manufacturer’s website or relying on notifications from the associated mobile app. When an update is available, it’s advisable to download and install it without delay. These updates take your camera’s performance to the next level and fortify its defenses against potential cyber threats. By ensuring your firmware is up to date, you maintain the functional excellence and the security robustness of your home surveillance system.
Embracing Advanced Features for Enhanced Security
Motion Detection and Alerts for Immediate Notification
Many light socket security camera review come equipped with advanced motion detection capabilities. This feature allows you to receive immediate notifications on your smartphone if the camera detects movement, providing real-time awareness of activities in and around your home. Customizing sensitivity levels and defining motion zones can help minimize false alarms and ensure you’re alerted to genuine security concerns.
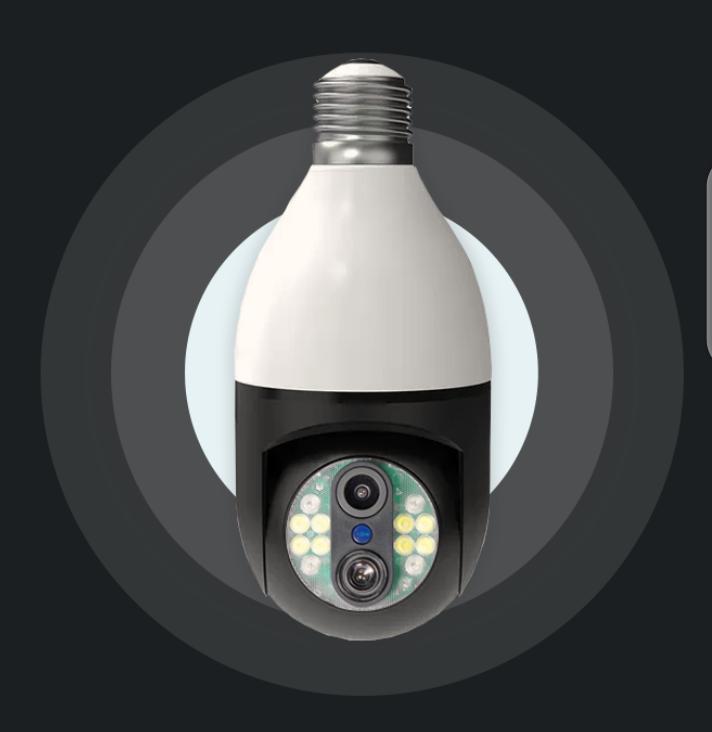
Night Vision and Two-Way Audio for Comprehensive Monitoring
Enhanced security features such as night vision and two-way audio significantly improve the functionality of light socket security cameras. Night vision allows for clear video recording in low light conditions, ensuring round-the-clock surveillance. Two-way audio enables you to communicate through the camera, adding another layer of security by allowing you to deter intruders verbally or speak with visitors without opening the door.
In conclusion, installing a light socket security camera is a practical, DIY-friendly project that significantly boosts your home’s security. With the convenience of monitoring your home remotely and the added benefit of lighting, this device is a versatile addition to any home security system. Regular maintenance and familiarization with the camera’s features will ensure you get the most out of your investment, keeping your home safe and secure for years to come.