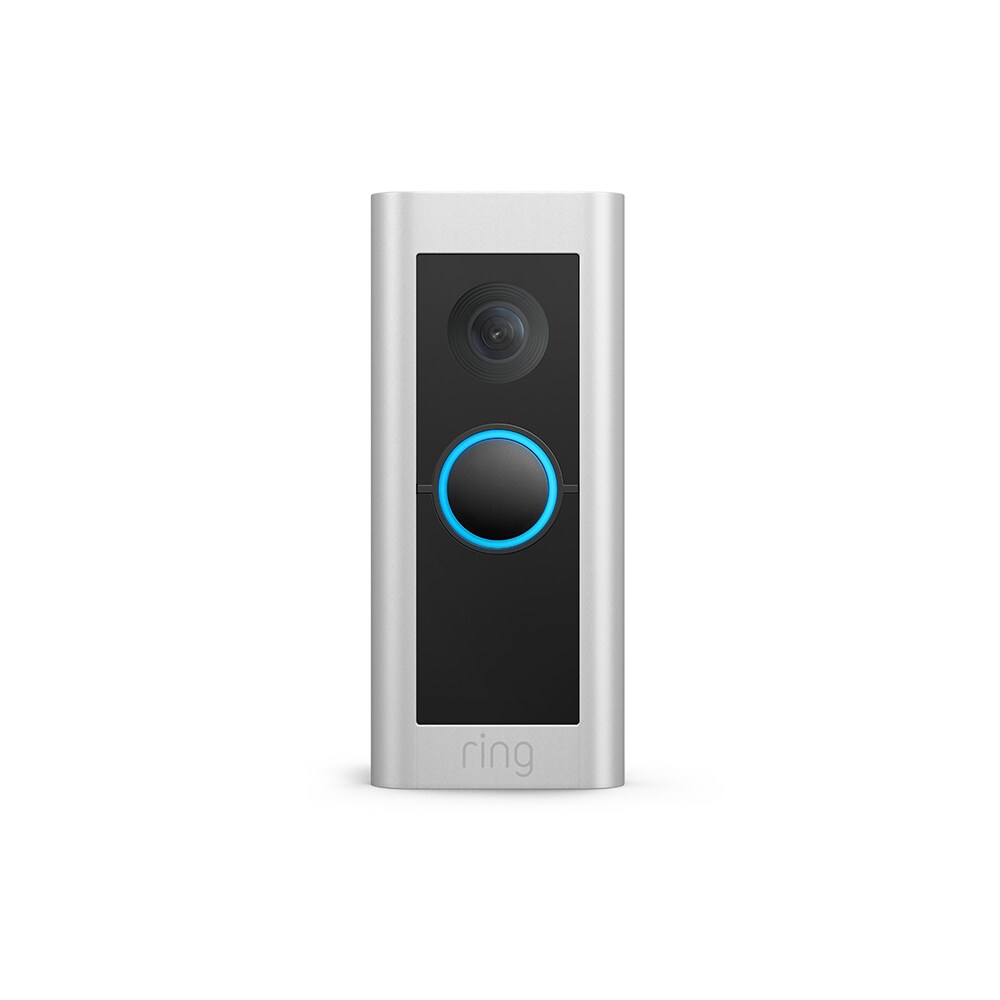
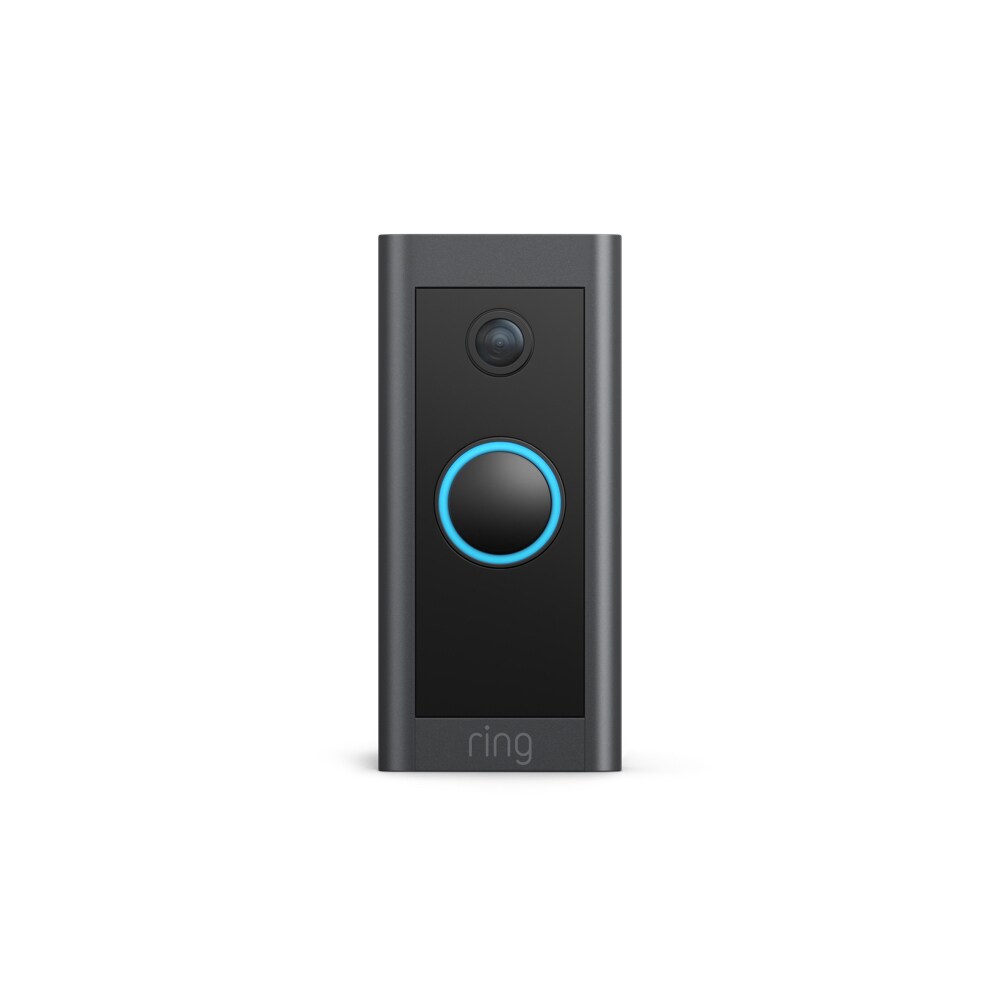
Installing your Ring Doorbell Camera Wireless can significantly enhance your home security and convenience. This device allows you to monitor your front door from anywhere using your smartphone, tablet, or computer. The process of installation and setup can seem daunting, but it doesn’t have to be. This article will guide you through the installation and setup process step by step. With the right tools and preparation, you’ll have your Ring doorbell Camera Wireless up and running smoothly in no time.
Gather Necessary Tools and Equipment
Tools Required
Before you begin the installation process, gather all the tools you’ll need. Typically, you will require a drill, a screwdriver, and a level. If your Ring doorbell comes with a mounting plate, a masonry bit may be necessary for brick installations. Make sure you also have a tape measure on hand to ensure proper height and alignment. Having your tools ready will simplify the process, minimize disruptions, and allow you to work more efficiently. Double-check that you have everything laid out so you won’t have to interrupt your workflow to search for missing tools.
Additional Equipment
In addition to tools, check your Ring Doorbell Camera Wireless package for included items. You should find a mounting bracket, screws, anchors, and a user manual that explains the setup process. Ensure your Wi-Fi network is active, as the doorbell requires an internet connection during setup. If your doorbell supports battery operation, make sure it is fully charged before beginning the installation. Having all the necessary equipment in place before you start will make the installation smoother and help avoid delays.
Choose the Installation Location
Ideal Height for Installation
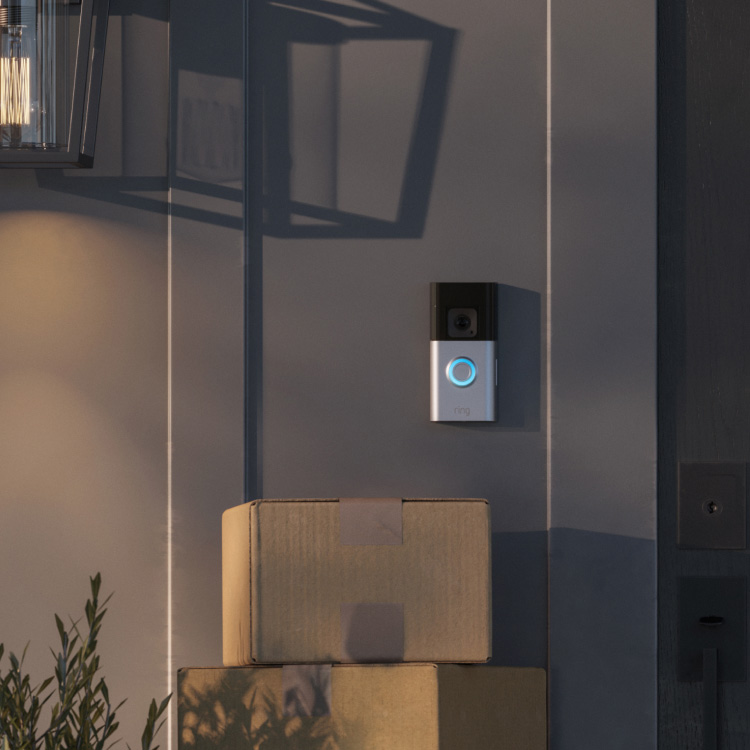
Selecting the right location for your Ring Doorbell Camera Wireless is crucial for optimal functionality. A common recommendation is to install the doorbell about 4.5 to 5 feet above the ground. This height is ideal for capturing a clear view of visitors’ faces and ensuring the best video quality. Measure the area to confirm you’re placing it at the correct height. A good measure is to stand at the height of the typical person using the doorbell to see if you need to adjust.
Positioning for Visibility
Consider the angle and visibility when choosing a position for your Ring Doorbell. Aim to install it where it can cover the widest area in front of your door. Look for obstacles like trees, overhangs, or decorative elements that might block the camera view. A clear pathway allows for better monitoring of deliveries, visitors, and even ongoing surveillance of your porch area. Take the time to thoroughly evaluate the area before you secure the mounting bracket to guarantee you get the best angles for surveillance.
Install the Mounting Bracket
Marking the Screw Holes
Once you’ve chosen the installation location, it’s time to attach the mounting bracket. Hold the bracket against the wall, aligned at the desired height. Use a level to make sure it’s straight. Mark the screw holes with a pencil to create an outline of where you’ll drill. This step ensures that the bracket will hang correctly and not be crooked once installed. Proper alignment is key to functionality and aesthetics. You might want to use tape to prevent any confusion as you make markings.
Drilling and Securing the Bracket
After marking your screw holes, drill holes where you’ve made the pencil dots. If installing on brick or concrete, use a masonry bit along with anchors for better grip. For wooden surfaces, regular screws will suffice. Attach the bracket using the provided screws, ensuring that it’s secure and stable before proceeding to the next step. A properly secured bracket is essential for the stability and safety of the doorbell, especially in adverse weather conditions. Make sure to double-check the screws for any looseness before mounting the device.
Power Up Your Ring Doorbell
Connecting to Power
If you’re hardwiring the doorbell, connect the wires from your existing doorbell system to the corresponding terminals on your Ring device. Refer to the color-coded wiring instructions provided in the manual. If you’re using battery power, insert the fully charged battery into the device until you hear it click into place securely. Check to ensure there are no exposed wires or loose connections. This step is crucial for avoiding any electrical issues that may arise later on.
Checking Power Status
Once you’ve connected the power, check for indicator lights on the Ring device. If the lights indicate it’s powered correctly, you’re ready for the next step. If there are no lights or if they blink in an unusual pattern, double-check your connections. A proper power connection is vital for the subsequent setup process and ensures your camera operates correctly. This step is crucial in confirming that everything is functioning as intended before continuing.
Download and Install the Ring App
Installing the App on Your Device
To set up your Ring Doorbell, you’ll need to download the Ring app. Head to either the Google Play Store or the Apple App Store to find the app, which is free and user-friendly. Once you’ve downloaded the app, open it and create an account if you don’t already have one. Follow the on-screen instructions to complete the registration process. The app serves as your primary interface for monitoring and controlling your doorbell, so ensure the installation is done correctly.
Adding Your Device
Inside the app, select “Set Up a Device.” Then, choose “Doorbell” from the list of options. The app will guide you step-by-step through the process of connecting your doorbell to your Wi-Fi network. Be sure to have your Wi-Fi password handy for this step. The app will search for available networks and prompt you to enter your password. Proper connectivity is vital for your Ring doorbell to function effectively and provide real-time alerts. Make sure to confirm that you have a strong signal in your chosen installation area for seamless operation.
Connect to Wi-Fi and Test the Device
Setting Up Wi-Fi Connection
During the app setup, you’ll connect your doorbell to your Wi-Fi network. Follow the prompts on the app to enter your Wi-Fi password. This step usually involves selecting your network from a list and entering the corresponding password. Once connected, the app should notify you of a successful connection. A stable internet connection is essential for receiving notifications, viewing live streams, and accessing stored recordings.
Testing Functionality
After your device is connected to Wi-Fi, conduct a functionality test to ensure everything works as intended. Press the doorbell button to see if the app sends a notification to your phone. You should also be able to view the live feed from your camera virtually immediately. If everything works correctly, congratulations! Your doorbell is set up and ready to use. If you encounter issues during testing, troubleshoot the connections and settings according to the app’s suggestions to resolve any problems.
Personalize Your Ring Doorbell Settings
Customizing Notifications
Now that your Ring doorbell is operational, dive into the settings within the app. Customize notification preferences based on your needs. You can choose to receive alerts for motion detection, doorbell rings, and even set “Do Not Disturb” hours. Adjusting these settings enhances your user experience and allows you to manage alerts according to your lifestyle. You might want to prioritize notifications from certain areas or times to avoid being overwhelmed by alerts.
Configuring Motion Zones
Take full advantage of the motion zone settings. These settings allow you to specify areas for motion detection, helping to reduce false alerts. Consider your environment and identify any zones where you might not want to receive notifications, such as busy sidewalks or streets. Properly configuring these zones will help tailor the device to your unique surroundings and provide you with a more refined notification experience. Regularly review and adjust these settings, especially if you notice frequent false alerts.
Maintain Your Ring Doorbell
Routine Cleaning and Maintenance
To keep your Ring doorbell working optimally, perform routine maintenance. Regularly wipe down the camera lens and casing to ensure clear video footage. Dust, rain, and other debris can obstruct the view, impacting both the quality of video and image capture. Checking the device for any signs of wear or damage will also help to maintain its effectiveness and longevity. A simple cleaning process can make a significant difference in ensuring the device functions efficiently.
Periodic Software Updates
Checking for software updates regularly is another essential maintenance step. The Ring app typically notifies you when updates are available. Keeping your doorbell’s software up-to-date ensures you benefit from the latest features, enhancements, and security improvements. This simple practice can help maximize the longevity and performance of your device. Take the time to familiarize yourself with any new features that may improve your user experience.
Conclusion
Installing and setting up your Ring Doorbell Camera Wireless can significantly enhance your home’s security. By gathering the right tools, choosing the appropriate location, and carefully following the installation steps, you can enjoy the benefits of this device quickly. Additionally, with proper customization and maintenance, your Ring Doorbell will help keep your home secure while providing peace of mind.
By monitoring visitors and receiving instant alerts on your smartphone, you can stay informed about the activity around your residence. This technology allows for a modern and efficient approach to home security, fitting neatly into today’s digital lifestyle. Embrace the ease of installation and functionality as you take the first steps towards a more secure living environment. With an installed and operational Ring Doorbell, you’ll not only enhance your security but also add value to your home.