
In a world dominated by digital media, many people still treasure the physical tapes that hold precious memories. Camcorder tape players provide a bridge between those cherished tapes and the more modern digital formats we use today. Knowing how to use a camcorder tape player efficiently allows you to preserve important moments in a more accessible form. This article will guide you through the process, from setting up your camcorder tape player to transferring tapes to digital formats.
Understanding Your Camcorder Tape Player
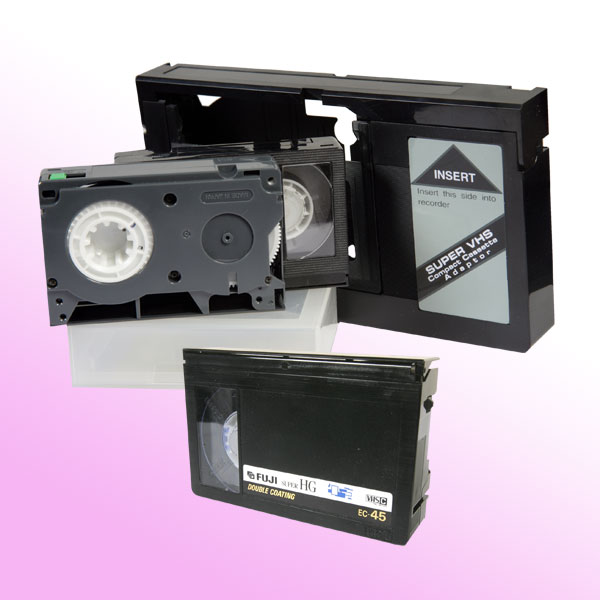
Types of Camcorder Tape Formats
Before using a camcorder tape player, it’s crucial to understand the different tape formats available. Common formats include VHS, MiniDV, and Hi8, each requiring specific playback devices. Most camcorders designed for these formats have built-in tape players, but standalone models are also available for viewing tapes. Ensure your camcorder tape player is compatible with the tape format you intend to use, as using the wrong player can lead to playback issues.
Features to Look For
When choosing a camcorder tape player, consider the features that might enhance your experience. Look for features like HDMI output for connecting to modern TVs or easy controls for fast forward and rewind. Many players also offer playback speed options, which can be particularly useful when reviewing footage quickly. Familiarizing yourself with the controls and settings will help you make the most of the device.
Setting Up Your Camcorder Tape Player
Connecting to Power and TV
Before you can start watching your tapes, you need to set up your camcorder tape player. Begin by connecting it to a power source using the included adapter or batteries. Next, connect the player to your television. Most players will have RCA (red, yellow, and white) cables for video and audio output, while newer models may have HDMI options. Ensure you select the correct input source on your TV to see the video from the player.
Adjusting Settings
Once connected, turn on both the tape player and the television. Check the player settings for options like screen size and output format. Some players allow you to adjust picture quality for either standard or widescreen displays, depending on your television capabilities. Taking a moment to adjust these settings will enhance your viewing experience.
Preparing Your Tapes
Inspecting the Tapes
Before inserting your tapes into the player, inspect them for any physical damage. Check for tears, dirt, or warping, as these issues can affect playback quality. If the tape is visibly dirty, gently clean it using a soft, lint-free cloth. Avoid using any liquids or abrasive materials that could harm the tape.
Reviewing Tape Condition
Particularly older tapes may suffer from issues like mold or demagnetization, which can affect their longevity. If you suspect any damage, consider taking them to a professional for assessment. Ensuring the tapes are in good condition will minimize frustration during playback and preserve the quality of the footage.
Playing Your Tapes
Inserting the Tape
With your tape prepared, it’s time to insert it into the player. Open the tape compartment, making sure not to force it, as this could cause the mechanism to jam. Gently insert the tape with the label facing up and the exposed tape side leading into the player. Ensure the tape is seated correctly before closing the compartment securely.
Basic Playback Controls
Once the tape is in place, you can use the playback controls to view your footage. Familiarize yourself with the buttons for play, pause, rewind, fast forward, and stop. If your player has scanning options, you can use this feature to quickly navigate through the tape. Enjoy watching the memories unfold, but keep in mind that old tapes may have tracking issues requiring adjustment for optimal playback.
Transferring to Digital Formats
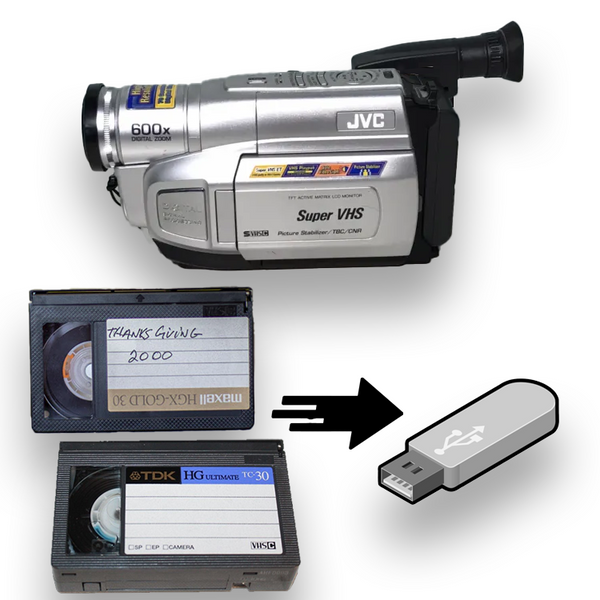
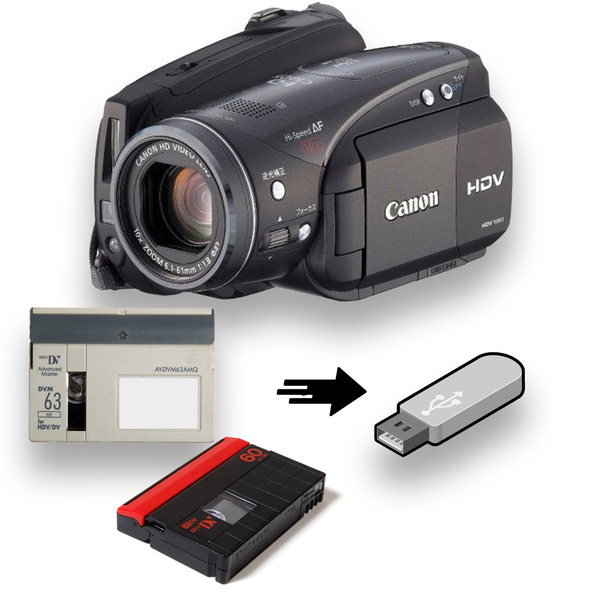
Choosing a Transfer Method
Once you’ve enjoyed your tape, you might want to preserve that footage in a more accessible digital format. You have several options for transferring camcorder content to digital: USB capture devices, dedicated video conversion software, or professional services. The choice largely depends on how comfortable you feel with technology and your budget.
Using a USB Capture Device
If you opt for a USB capture device, connect the camcorder tape player to your computer using the output cables. Install the software that comes with the capture device, which will help you navigate the recording process. Follow the prompts to ensure the software recognizes the tape player. Then, press play on the player and record on your computer simultaneously. This setup allows you to capture gameplay in real-time, converting it to popular formats like MP4 or AVI.
Editing Your Digital Videos
Basic Editing Software
Transferring your videos to a digital format is just the first step. After capturing the footage, consider using video editing software to enhance your videos. Programs like iMovie, Windows Movie Maker, or Adobe Premiere Elements offer user-friendly options for trimming, adding transitions, and even adjusting color settings. Editing can make your videos more polished and enjoyable for sharing with friends and family.
Adding Personal Touches
Once you’ve captured and edited your videos, think about adding personal touches. Whether it’s incorporating background music, voiceovers, or text overlays, these enhancements can make your videos even more special. Many editing programs offer templates and easy-to-use features that allow you to be creative without needing extensive knowledge of video editing.
Proper Storage and Preservation
Storing Digital Files Safely
After creating and editing your digital videos, ensure they are stored safely. Use reliable external hard drives or cloud storage services for backup. Regularly backup your files to avoid losing them due to accidental deletion or hardware failures. Keep multiple copies in different locations for maximum protection against data loss.
Caring for Your Tapes
Once you’ve digitized your videos, consider the future of your original tapes. Store them in a cool, dry place away from direct sunlight to prevent deterioration. Avoid keeping them in areas with high humidity, as this can cause mold growth. For long-term storage, consider using protective cases that reduce exposure to dust and physical damage.
Exploring Additional Resources
Connecting with Online Communities
As you embark on your journey from tape to digital, consider joining online communities and forums dedicated to video preservation and editing. Platforms like Reddit and dedicated Facebook groups often have passionate members who share tips, resources, and experiences related to camcorders and tape players. Engaging with these communities can provide valuable insights, answer specific questions, and even help you troubleshoot issues you might encounter along the way.
Learning Through Tutorials
Another excellent way to enhance your skills is by seeking out video tutorials on platforms like YouTube. Many creators specialize in teaching how to use camcorder tape players, transfer footage, and navigate editing software. These visual guides cater to various experience levels and often break down complex processes into easy-to-follow steps. Investing time in these resources not only boosts your confidence but also allows you to discover creative techniques that can elevate your video projects.
Conclusion
Using a camcorder tape player opens the door to preserving cherished memories from tapes that may otherwise be forgotten. From understanding the types and features of players to transferring your valuable footage to digital formats, this process invites nostalgia and creativity. Whether you choose to edit your videos or simply enjoy them as they are, knowing how to work effectively with a camcorder tape player ensures you capture and maintain those precious moments for years to come.
In an era of fast-paced digital content, revisiting your old tapes can be a rewarding experience. This guide provides the essential steps to ensure that you can transition smoothly from tape to digital while maintaining the quality of those memories. Dive into this nostalgic journey, and embrace the opportunity to keep your stories alive!