Getting Started with Your Vivitar Pro 4K Camcorder
Congratulations on your new Vivitar Pro 4K camcorder! This impressive device is a gateway to producing stunning, high-definition videos. But before you start shooting like a pro, you’ll need to familiarize yourself with the basics. Let’s dive in to ensure you can capture your moments with confidence.
Understanding the Basics
The Vivitar Pro 4K camcorder packs a punch with features tailored for both novices and seasoned videographers. To get the most out of your device, it’s crucial to understand its core functions:
- The 4K resolution offers four times the detail of 1080p Full HD.
- Optical zoom lets you capture close-ups without sacrificing video quality.
- Image stabilization helps to keep your footage smooth when you’re on the move.
- Wi-Fi connectivity allows you to share your videos instantly or control the camcorder remotely.
These features are just the tip of the iceberg. By mastering the basics, you pave the way for more creative and intricate videography.
Initial Setup and Configuration
Before you embark on your filming journey with the Vivitar Pro 4K camcorder, you’ll want to set it up correctly:
- Charge the battery to ensure you have enough power for extended shoots.
- Insert a high-capacity SD card compatible with 4K video recording.
- Configure the date and time settings for proper video timestamping.
- Set your resolution and frame rate – higher settings are ideal for action shots, while lower settings can save storage space.
- Familiarize with the menu – navigate through settings to learn where different options and controls are located.
Once your camcorder is configured, you’re ready to capture life’s moments in 4K glory. In the next sections, we’ll explore more features of your Vivitar Pro 4K camcorder and how to optimize your video quality for that cinematic touch.
Exploring the Features of Vivitar Pro 4K Camcorder
Your Vivitar Pro 4K camcorder boasts a host of features that make it a versatile choice for videographers. In this section, we’ll go over the key aspects of your device to help you harness its full potential.
Key Features Overview
The Vivitar Pro 4K camcorder comes packed with features that are designed to enhance your video recording experience:
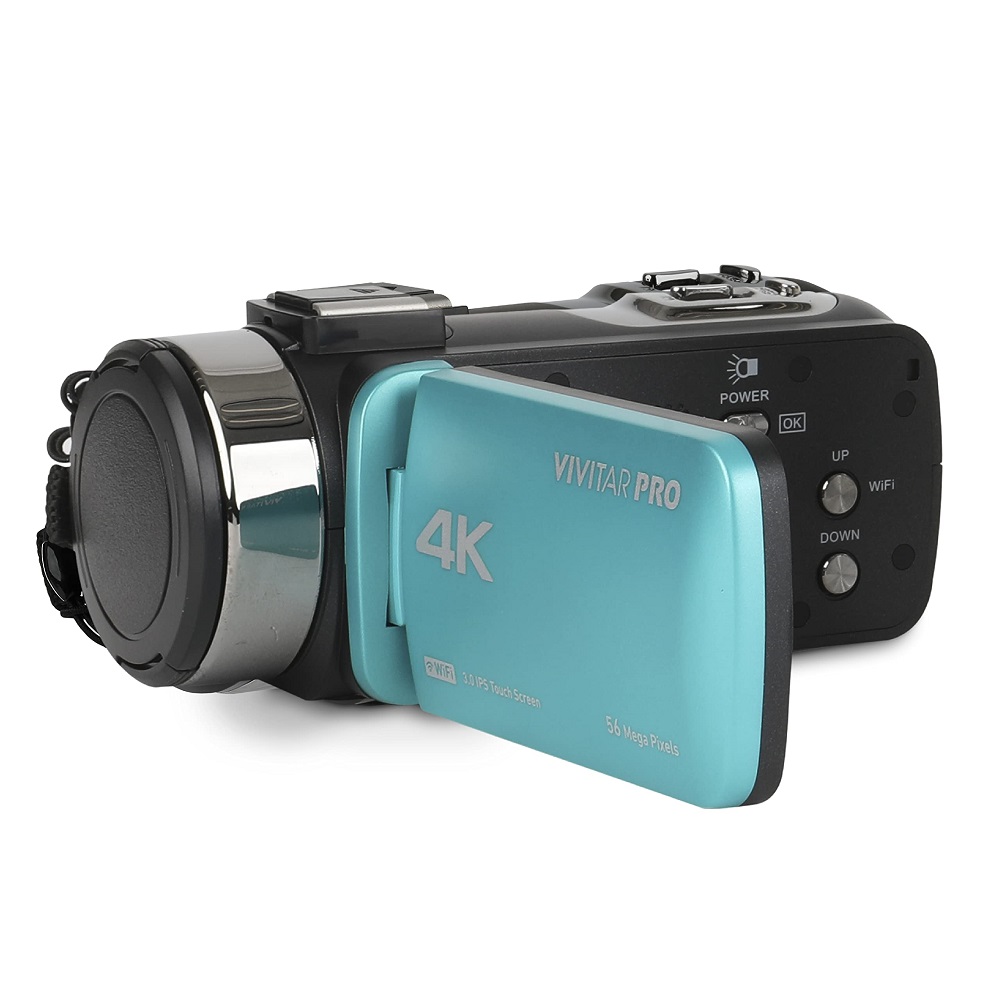
- 4K Video Recording: Capture crystal-clear footage with the 4K resolution capability.
- Optical Zoom: Get close to the action without losing detail or quality.
- Image Stabilization: Ensure your videos are smooth and steady, even while moving.
- Wi-Fi Functionality: Share your creations easily or control the camcorder remotely.
- Touch Screen Display: Navigate menus and settings with a user-friendly interface.
These features work together to provide a high-quality recording experience. With them, you can create videos that stand out for their clarity and stability.
Shooting Modes and When to Use Them
The Vivitar Pro 4K camcorder offers different shooting modes to match your environment and subject matter. Here are the most common ones and when to use them:
- Auto Mode: Best for beginners or when you need to shoot quickly.
- Scene Modes: Select a mode based on your shooting scenario, such as Night, Sports, or Portrait.
- Slow Motion: Use to capture high-speed action scenes.
- Time-Lapse: Ideal for capturing gradual changes over a period of time.
By choosing the right mode for the situation, you ensure that your videos have the look and feel you desire. Experiment with these modes to discover which ones suit your style or project needs best.
Optimizing Video Quality
To create visually stunning videos with your Vivitar Pro 4K camcorder, achieving optimal video quality is essential. By adjusting resolution, frame rate, lighting, and exposure, you can take your videography to the next level.
Resolution and Frame Rate Settings
Your Vivitar Pro 4K camcorder allows you to select various resolution and frame rate settings to suit different filming scenarios:
- 4K Resolution: This setting provides maximum detail, making it perfect for landscapes and shots where sharpness is key.
- Frame Rate: Higher frame rates, such as 60 fps, are great for capturing fast action without blur. Lower frame rates create a cinematic feel.
Adjusting these settings is crucial to matching the content’s mood and the viewers’ expectations. Use higher resolutions and frame rates for clearer, more dynamic videos.
Lighting and Exposure Tips
Good lighting is the backbone of high-quality video. When filming with your Vivitar Pro 4K camcorder, keep these tips in mind:
- Natural Light: Use natural light to your advantage. Morning and late afternoon offer soft, diffused light.
- Avoid Backlight: Position your subject so the light falls on them, not behind them, to prevent silhouettes.
- Exposure: Adjust the camcorder’s exposure settings to prevent overly bright or dark shots. Proper exposure brings out detail and color.
By mastering these fundamental settings, you’ll ensure that your Vivitar Pro 4K camcorder captures footage with clarity and professionalism, regardless of the conditions.
Advanced Filming Techniques
To create unique and compelling videos with your Vivitar Pro 4K camcorder, it’s essential to dive into advanced filming techniques. Enhancing your skills will differentiate your work from the rest. Let’s look at how manual controls and creative angles can transform your videos into storytelling masterpieces.
Using Manual Controls Effectively
Manual controls on your Vivitar Pro 4K camcorder provide precision and adaptability. Here’s how to use them:
- Focus: Adjust the focus manually for sharp images or creative blur effects.
- Aperture: Control how much light enters the lens to affect depth of field.
- Shutter Speed: Change shutter speed to manage motion blur and exposure levels.
- ISO: Set ISO for the right balance of brightness without excess noise.
Mastering these settings gives you full control over the look and feel of your videos. It takes practice, but it’s worth the effort.
Creative Angles and Composition
The angle and composition of your shots are vital in storytelling. Use these tips to enhance your compositions:
- Rule of Thirds: Place subjects along the lines or intersections for visual interest.
- Leading Lines: Use natural lines to guide viewers’ eyes through the scene.
- High and Low Angles: Shoot from different heights to add drama or perspective.
- Framing: Frame your subject with elements in the foreground to add depth.
By applying these techniques, your videos will captivate the audience and keep them engaged. Remember to keep experimenting with different angles to discover what works best for your narrative.
Accessories to Enhance Your Videography
To elevate your filming experience with the Vivitar Pro 4K camcorder, integrating accessories is key. They can significantly improve the quality and versatility of your videos.
Must-Have Accessories for Your Camcorder
When you’re aiming to capture professional-grade footage, certain accessories for your Vivitar Pro 4K camcorder are indispensable:
- Tripod: For stable shots, a sturdy tripod is a must. It helps to avoid shaky footage, especially in 4K.
- Extra Batteries: Long shooting days demand backup power. Having extra batteries ensures you never miss a shot.
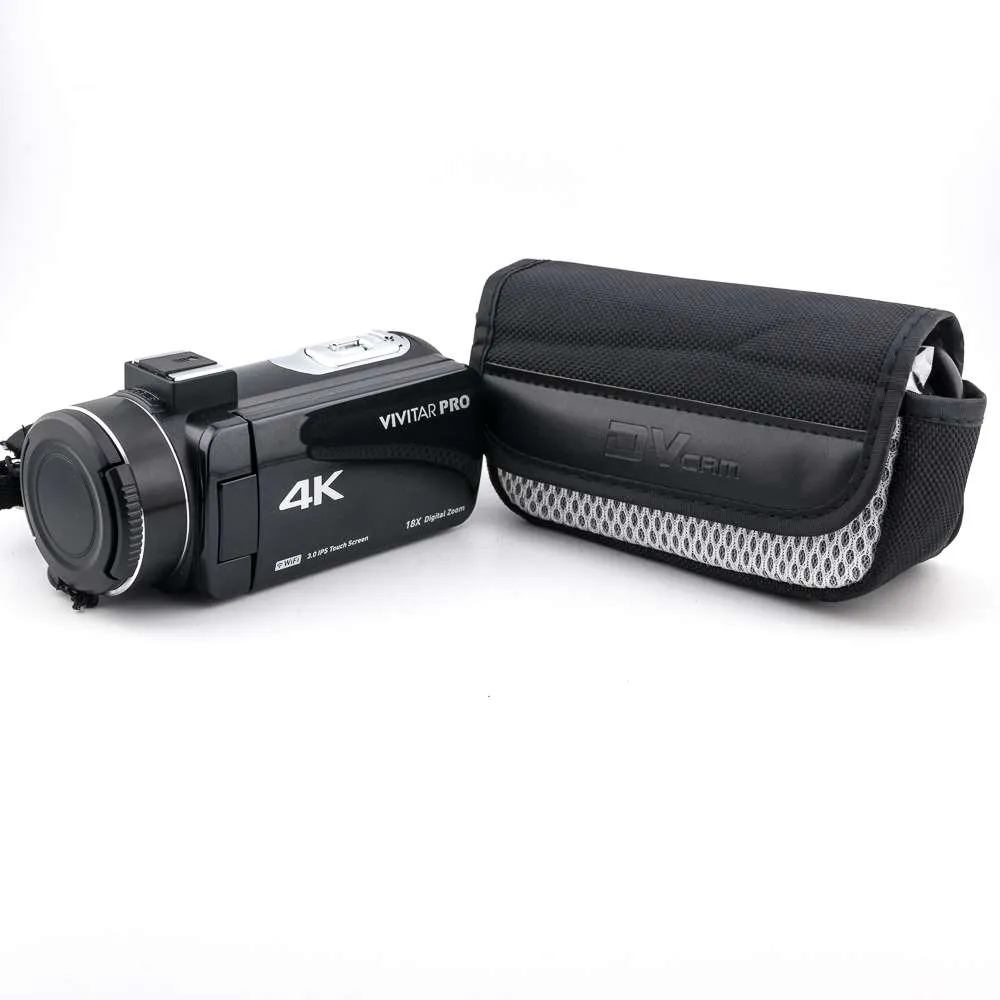
- Carrying Case: Protect your camcorder and accessories. A good case also makes transport simple and safe.
- SD Cards: High-capacity SD cards are crucial for 4K video. They offer ample storage for large video files.
- Lens Filters: These can help manage light and protect your lens from scratches and dirt.
Each accessory adds value by enhancing functionality or protecting your equipment. Invest in these to keep your camcorder ready for any scenario.
External Microphones and Lighting Options
Sound and lighting greatly affect video quality. Here’s what you need for better audio and visuals:
- External Microphone: Improve audio clarity with an external mic. It is vital for interviews or dialogue.
- LED Light Panel: These provide consistent lighting and are portable. They are excellent for indoor and low-light settings.
- Light Diffuser: Soften harsh lights with a diffuser for a more natural look.
- Reflectors: Use these to bounce light onto your subject, reducing shadows.
By pairing your Vivitar Pro 4K camcorder with these audio and lighting enhancements, you ensure a full package of high-quality imagery and sound. This combo will take your projects to the next level.
Editing Your 4K Footage
After capturing stunning videos with your Vivitar Pro 4K camcorder, the next step is editing. Editing is where your videography truly comes to life.
Best Software for Editing 4K Video
Choosing the right editing software is key to handling 4K footage. Here are top picks:
- Adobe Premiere Pro: Offers advanced features and 4K support. It’s a choice for professionals.
- Final Cut Pro X: Exclusive to Mac users, known for its smooth 4K editing capabilities.
- DaVinci Resolve: Not only great for editing but also color correction and audio post-production.
- CyberLink PowerDirector: A great option for beginners with plenty of 4K editing tools.
These programs can manage the large file sizes of 4K video and offer a range of tools to enhance your footage.
Tips for Efficient Editing Workflow
An efficient workflow saves time and reduces frustration. Here’s how to edit smartly:
- Organize Files: Keep your footage in clearly labeled folders. This makes finding clips easy.
- Use Proxies: Edit with low-res proxies if your computer struggles with 4K files, then switch back to full-res for exporting.
- Shortcuts Are Key: Learn keyboard shortcuts. They speed up editing significantly.
- Regular Saving: Save your project often. You don’t want to lose progress due to a crash.
With these tips and the right software, your 4K videos will look polished and professional. Give your Vivitar Pro 4K camcorder footage the post-production it deserves.
Sharing and Storing Your Videos
Once you’ve created your video masterpiece with the Vivitar Pro 4K camcorder, you’ll want to share it with the world and keep it safe. Good sharing and storage practices protect your work and make it accessible to your audience.
Optimal Formats and Platforms for Sharing
Selecting the right format and platform is crucial to maintaining video quality and reaching your intended audience:
- MP4: This format is widely accepted and offers a good balance of quality and file size.
- Vimeo and YouTube: Ideal for reaching a wide audience. They support 4K and have user-friendly interfaces.
- Social Media: For snippets or highlights, use platforms like Instagram or Twitter.
- Personal Website or Blog: Showcase your videos and retain full control over their presentation.
Choose formats that are compatible and platforms that align with your audience’s preferences to maximize the impact of your videos.
Long-Term Storage Solutions
Preserving your videos for the future is as important as creating them. Here’s how to store your videos for long-term safekeeping:
- Hard Drives: Invest in reliable external hard drives for a physical copy.
- Cloud Storage: Services like Google Drive or Dropbox offer easy access and sharing options.
- Archival Quality Discs: Use Blu-ray discs for longevity, especially for 4K content.
- RAID Systems: A more advanced option for redundancy and protection against data loss.
Secure and organized storage will ensure your videos stand the test of time. By using these solutions, you guard against losing your content and keep them ready for future viewing or reuse.