Buying used camera lenses is a great way to save money and expand your photography gear. However, it’s crucial to make thorough inspections and tests to ensure you’re getting a good deal. This guide will help you navigate the process of assessing a used lens for quality and functionality.
Initial Visual Inspection
Examine the Lens Body
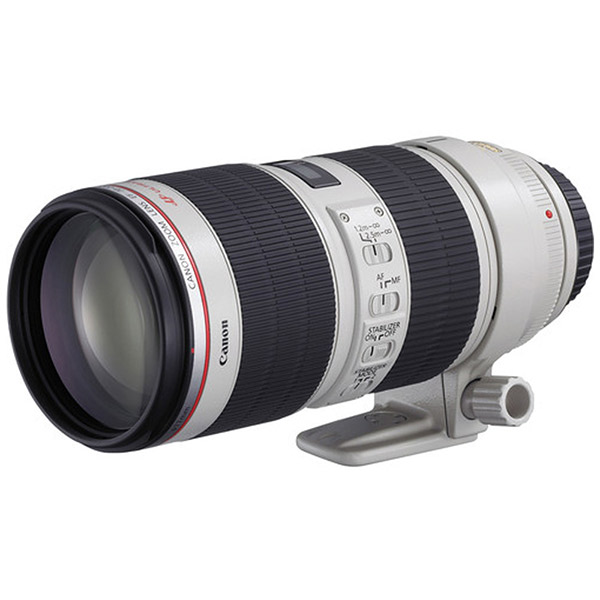
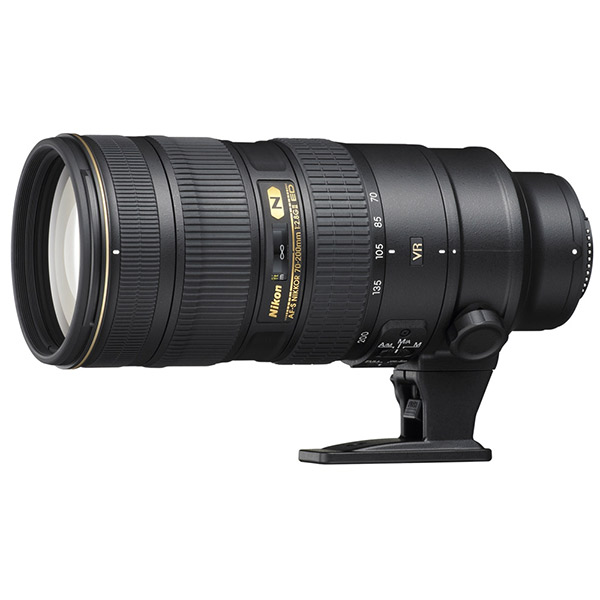
Start with a careful look at the lens body. Check for external damage such as dents, scratches, and cracks. These can indicate that the lens was dropped or mishandled. Although minor cosmetic damage might not affect performance, severe damage can impact the lens’s structural integrity and resale value. Also, check the lens mount for any signs of wear or damage, as this can affect how securely the lens attaches to your camera.
Check the Focus and Zoom Rings
Turn the focus and zoom rings to ensure they move smoothly. Any stiffness, roughness, or unusual noise could mean there are internal issues. The rings should operate smoothly without any resistance or grinding sounds. Make sure the zoom extends and retracts correctly and that the focus ring turns without any hitches. These controls are vital for achieving sharp images, and any malfunction could limit the lens’s usability.

Glass Elements Assessment
Look for Scratches and Fungus
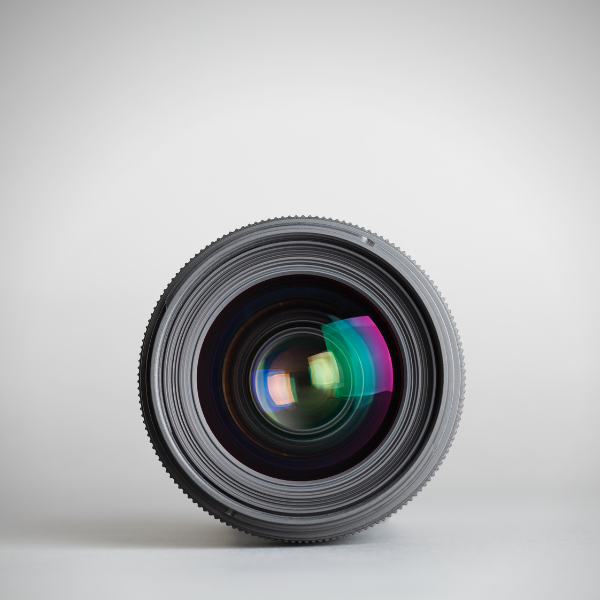
Inspect the front and rear glass elements for scratches, dust, and fungus. Hold the lens up to the light and use a flashlight to check for any imperfections. Even small scratches on the glass can affect image quality by causing flares or reducing sharpness. Fungus appears as thin, web-like structures inside the lens, and it can spread and damage the coatings over time. Avoid lenses with fungus, as cleaning it is often costly and sometimes ineffective.
Check for Internal Dust
A small amount of dust inside the lens is common and usually doesn’t affect image quality. However, excessive dust can cause image softening and reduce contrast. Shine a light through the lens and look through it from both ends to gauge the amount of internal dust. If you see a lot of particles, it can be a sign that the lens hasn’t been well-maintained or has been stored in poor conditions, which could lead to other issues.
Functional Testing
Autofocus Performance
Mount the lens on your camera and test the autofocus functionality. Focus on different subjects at varying distances to ensure the autofocus system locks on accurately and quickly. Listen for any unusual noises, such as grinding or clicking, which could indicate mechanical issues. The autofocus should move smoothly and quietly, locking onto targets without hesitation.
Aperture Functionality
Test the aperture by looking through the lens while adjusting the f-stop settings on your camera. The aperture blades should move smoothly and form a perfect circular shape at each setting. Any lag or uneven movement can indicate problems with the aperture mechanism. Check that the blades are clean and free of oil, as oily blades can stick and cause exposure issues.

Image Quality Tests
Sharpness and Clarity
Take test shots at various focal lengths and aperture settings to evaluate sharpness and clarity. Review the images on your computer to check for consistent sharpness across the frame, from the center to the edges. Soft corners, chromatic aberrations (color fringing), and distortion can affect image quality. Comparing these images to sample images from reviews or other photographers can give you a sense of whether the lens is performing as expected.
Bokeh and Aberrations
Bokeh refers to the quality of the out-of-focus areas of an image. Shoot some out-of-focus backgrounds to assess the bokeh produced by the lens. Good lenses typically produce smooth and pleasing bokeh. Also, check for chromatic aberrations, which appear as color fringing around high-contrast edges. Excessive aberrations can be distracting and affect image quality, especially in portraits and macro photography.
Compatibility and Firmware
Camera Compatibility
Ensure the lens is compatible with your camera body. While most lenses will attach physically, electronic compatibility is crucial for features like autofocus and image stabilization. Check the manufacturer’s website or user forums for compatibility information. Some older lenses might require firmware updates to work properly with newer camera bodies, so it’s essential to verify these details before purchasing.
Firmware Updates
Check if the lens has any available firmware updates that can enhance its performance or compatibility with your camera. Some manufacturers provide firmware updates that fix issues or improve functionality. Ensure you have access to these updates and that the lens can be updated if necessary. This is especially important for electronic lenses with advanced features like autofocus and image stabilization.
Price and Warranty Considerations
Evaluate the Price
Compare the asking price of the used lens with the current market value for the same model in similar condition. Websites like eBay, KEH, and B&H Photo can provide price ranges for used lenses. Make sure the price reflects the condition of the lens and any included accessories like caps, hoods, or cases. Overpaying can negate the savings of buying used, so it’s crucial to ensure you are getting a fair deal.
Check for Warranty or Return Policy
Some sellers or vendors offer a warranty or return policy for used lenses. This can provide additional peace of mind if the lens develops problems after purchase. Always ask about the return policy and warranty before finalizing the transaction. A warranty can save you money on repairs and replacements, offering valuable protection against unforeseen issues.

Trusted Sources and Seller Reputation
Buy from Trusted Sellers
Purchase from reputable sources to reduce the risk of buying a defective lens. Trusted sources include well-known camera stores, reputable online retailers, or established photographers. These sellers are more likely to provide accurate descriptions and fair return policies. Avoid shady websites or sellers with limited histories, as the risk of fraud or receiving subpar products is higher.
Seller Reputation and Reviews
Check the seller’s reputation and read reviews from previous buyers. Trusted sellers usually have positive feedback and detailed reviews. Pay attention to comments about the condition of items and the accuracy of descriptions. A seller with a good track record is less likely to misrepresent the condition of the lens, increasing the likelihood of a satisfactory purchase.
Conclusion
Making an Informed Decision
Inspecting and testing used camera lenses before buying is crucial for ensuring you get a good deal. By carefully examining the lens body, glass elements, and functionality, you can identify potential issues. Conduct thorough image quality tests and confirm compatibility with your camera. Evaluating price and warranties can further secure your investment.
Enjoying Your Purchase
Buying a used camera lenses can be a great way to expand your photography gear without breaking the bank. With diligent inspection and testing, you can find high-quality lenses that serve your needs. Enjoy the benefits of a well-chosen used lens, knowing that you’ve made a wise investment in your photographic journey. By following these steps, you can confidently purchase used lenses and enhance your photography experience.
By following a systematic approach to inspecting and testing used camera lenses, you can make a smart, informed purchase. Remember, patience and diligence are key. Taking the time to thoroughly check each aspect of the lens—from physical condition to functional performance, and image quality—ensures that you get the most value for your money. Whether you’re an amateur photographer expanding your kit or a seasoned professional looking for a deal, understanding how to evaluate used lenses will serve you well. Happy lens hunting, and may you capture many stunning images with your new gear!
