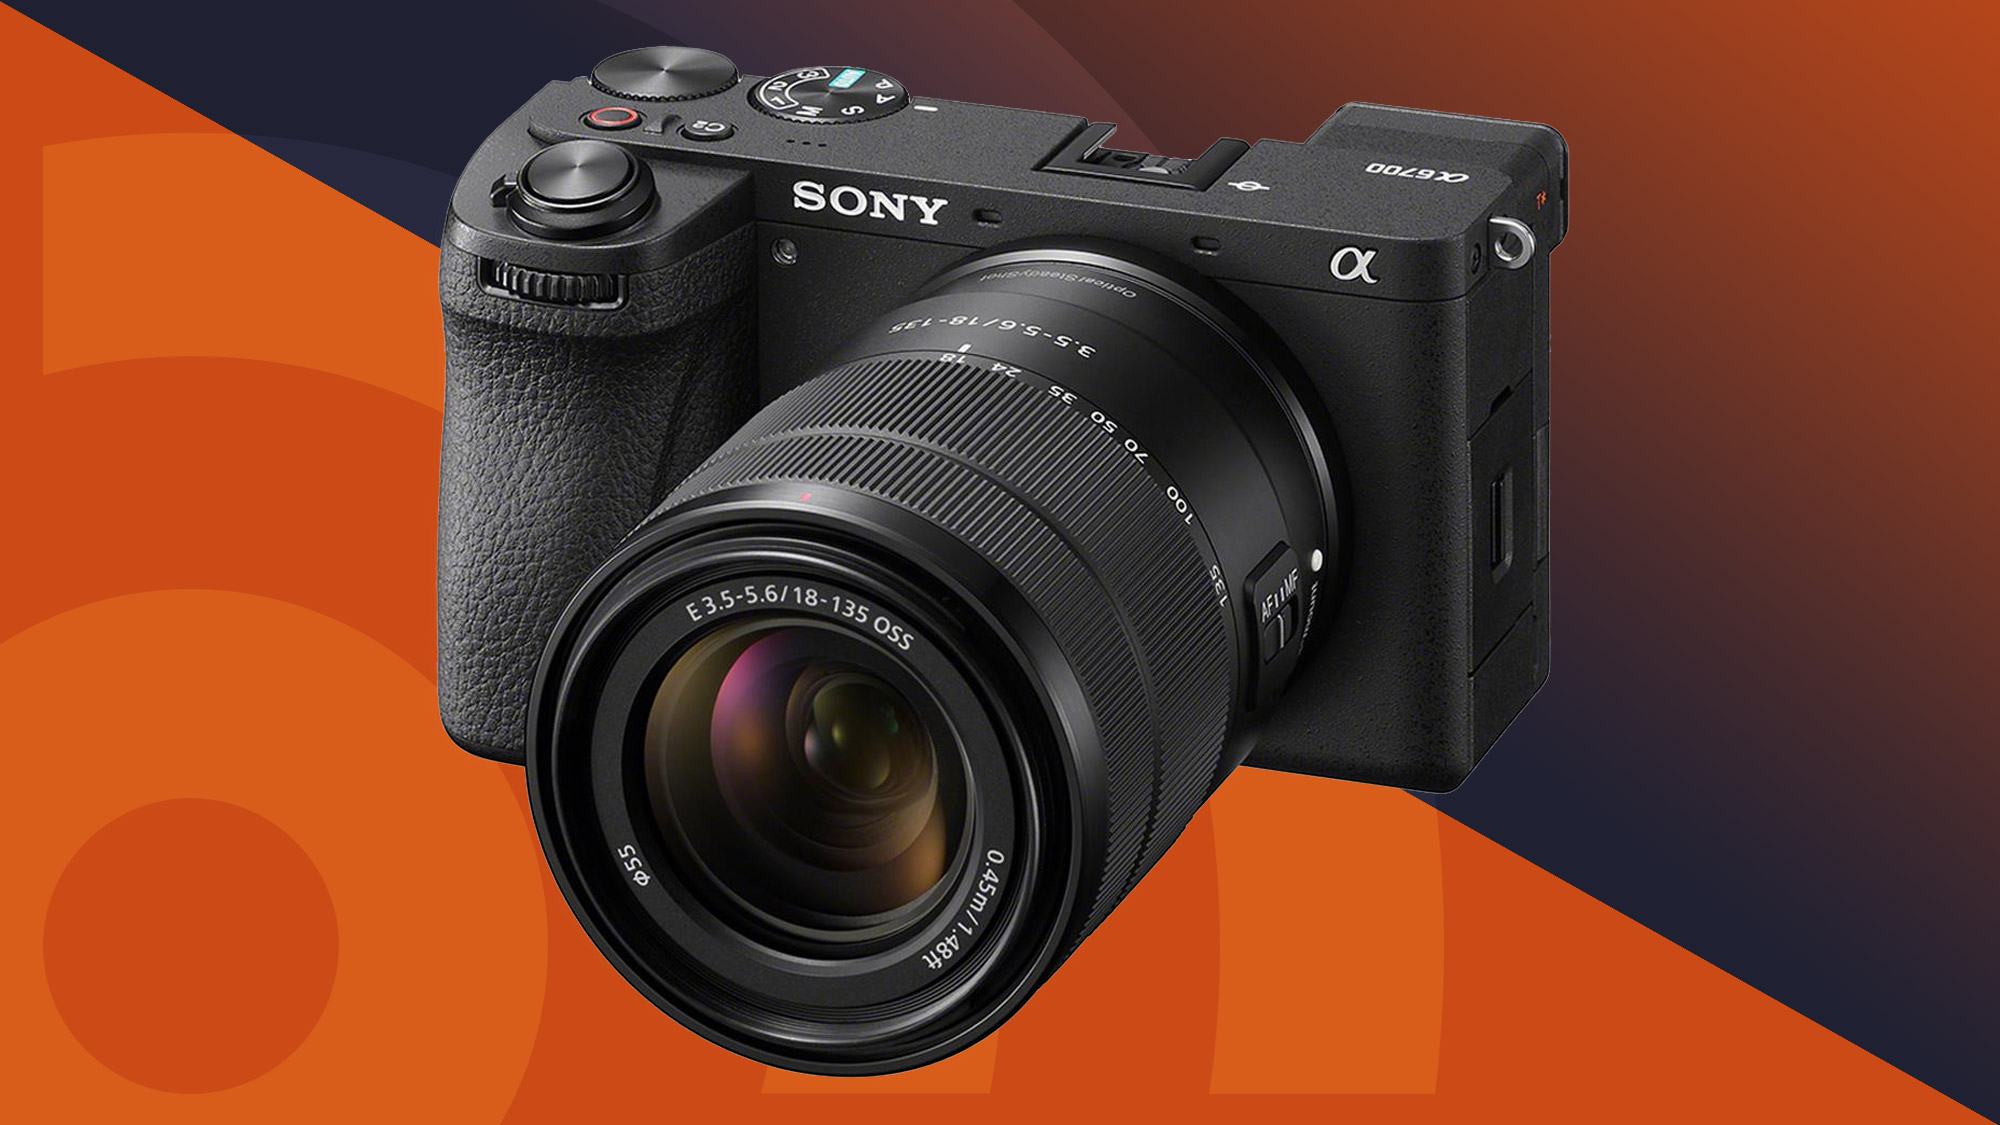
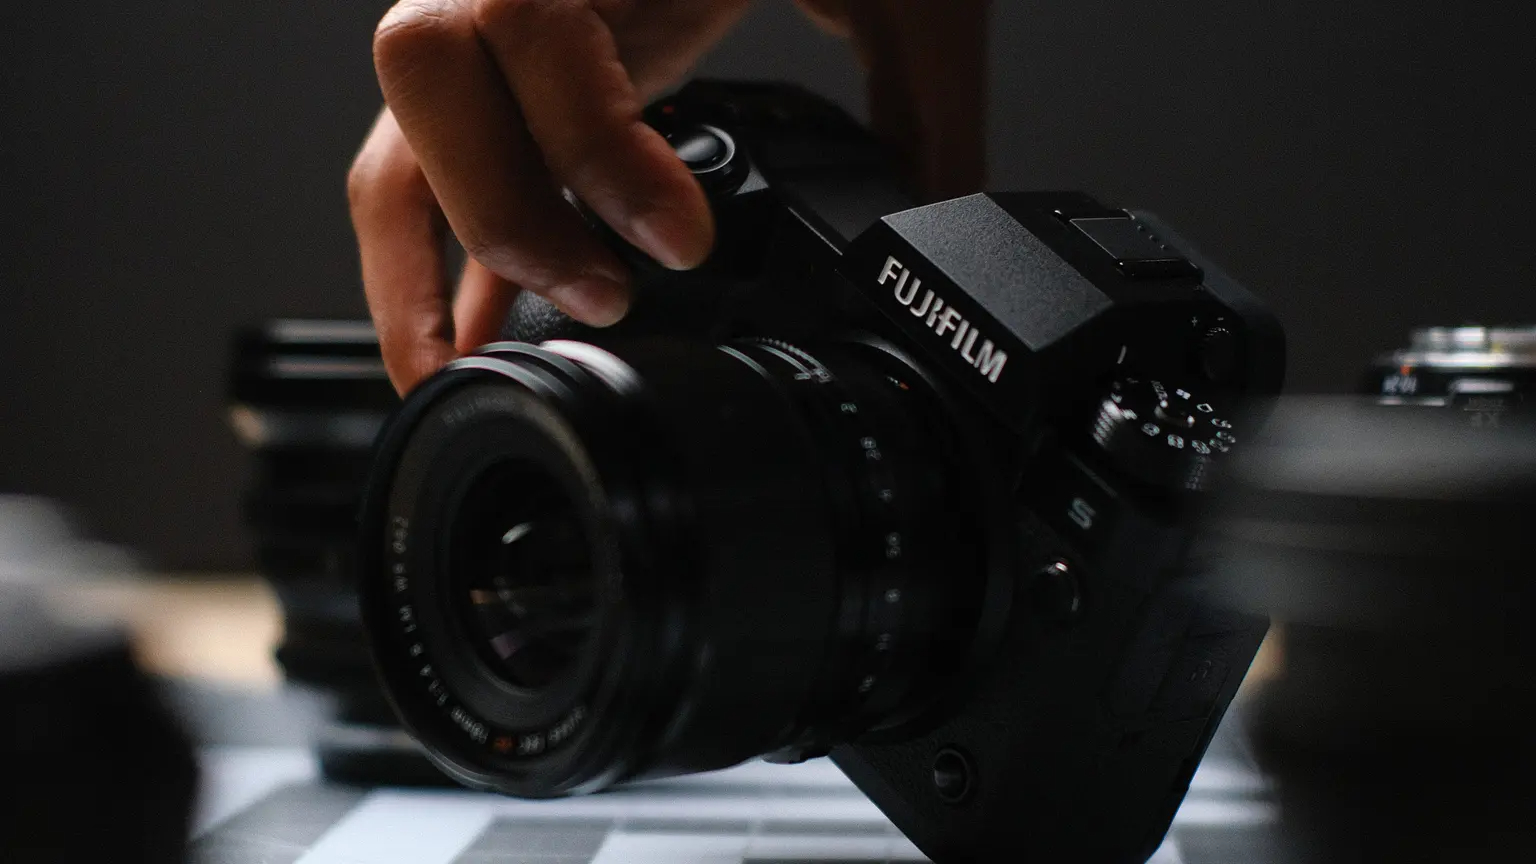
Blender, an open-source 3D creation suite, offers a multitude of tools and features for producing photorealistic images. Mastering camera techniques in Blender allows artists to simulate the intricacies of photography within a virtual environment. This article provides practical guidance on how to leverage Blender’s camera settings and compositional strategies to create compelling and lifelike renders. We’ll explore the fundamentals of setting up your virtual camera, techniques to mimic real-world camera behavior, lighting and composition tips, as well as post-processing methods to enhance your final image.
Mastering Blender’s Virtual Camera
To capture stunning images in Blender, one must first understand how to manipulate the virtual camera effectively.
Camera Settings and Lenses
Blender’s camera settings are akin to a real-world DSLR. You can adjust the focal length to simulate different lenses, control the depth of field for artistic focus effects, and set the sensor size to match various film formats. Experiment with these parameters to find the right visual feel for your scene, whether it’s a wide-angle landscape or a close-up with a blurred background.
Camera Movement and Angles
Create dynamic images by experimenting with camera movement and angles. Use Blender’s animation tools to dolly, crane, or track your camera through the scene, adding a sense of motion to your stills. Consider the rule of thirds and leading lines as you position your camera to capture the most engaging angle of your subject.

Emulating Real-World Camera Behavior
Replicating the behavior of physical cameras in Blender can add a layer of realism to your renders.
Depth of Field for Focus
Depth of field (DOF) is a powerful tool in a photographer’s arsenal. In Blender, you can adjust DOF settings to isolate your subject by blurring the background and foreground. Use an empty object as your focus point and fine-tune the aperture size to achieve the desired blur intensity.
Motion Blur for Action Shots
Blender allows you to simulate motion blur, giving life to fast-moving objects in your scene. This can be particularly effective for action shots, where you want to convey speed and movement. Adjust the shutter speed in Blender to control the amount of blur, mimicking the effect of a real camera’s exposure time.

Lighting and Composition for Impactful Images
Proper lighting and thoughtful composition are essential for creating impactful images in Blender.
Harnessing Lighting Techniques
Lighting sets the mood and brings out the best in your Blender scenes. Utilize a three-point lighting setup to achieve professional-looking results, or experiment with HDRIs for natural environmental lighting. Remember to balance light and shadow to add depth and dimension to your renders.
Composing with Purpose
Composition is the art of arranging elements within the frame to guide the viewer’s eye. In Blender, you can use compositional aids such as the golden ratio or the Fibonacci spiral overlay. Pay attention to the balance of objects, color contrasts, and negative space to create a harmonious and engaging composition.

Post-Processing to Elevate Your Render
Once you have set up your scene and captured your image, post-processing can further refine and enhance your render.
Utilizing Blender’s Compositor
Blender’s built-in compositor offers a range of post-processing effects. You can adjust color balance, contrast, and saturation to evoke different emotions. Add vignettes, lens flares, or film grain to stylize your image and give it a unique character.
Fine-Tuning with External Software
For even more control, export your render into external photo editing software like Photoshop or GIMP. Here, you can apply advanced adjustments and touch-up techniques. Layer filters, perform selective color grading, or composite additional elements to achieve your final vision.

Harnessing Color and Texture for Realism
The secret to lifelike renders often lies in the subtle interplay of color and texture. Blender’s extensive material library allows you to simulate realistic surfaces that can dramatically enhance the authenticity of your images.
Crafting Detailed Materials
Textures and materials bring a scene to life in Blender. Utilize high-resolution image textures and accurate displacement maps to simulate real-world surfaces. Adjust material properties such as glossiness, reflectivity, and bump for a more nuanced and tactile appearance. Pay attention to how materials interact with your scene’s lighting to ensure they convincingly mimic their real-life counterparts.
Color Grading for Mood
Colors have the power to evoke emotions and set the tone for your image. Use Blender’s color grading tools to enhance or alter the mood of your render. Warmer tones can suggest joy and sunlight, while cooler tones may evoke a sense of calm or desolation. Experiment with color curves and levels to refine your image’s palette, ensuring that the colors contribute effectively to the story you want to tell.

Optimizing Workflow for Efficiency
Producing high-quality renders in Blender can be resource-intensive. Optimizing your workflow ensures that you can work efficiently without compromising on the quality of your final output.
Streamlining Scene Complexity
In Blender, managing scene complexity is crucial for maintaining a smooth workflow. Use layers and collections to organize your scene and simplify your viewport by hiding elements that are not currently in focus. Employ modifiers and particle systems judiciously, as these can increase render times. Consider proxy models for complex objects during the setup phase, switching to high-detail versions only during final rendering.
Performance Tweaks
Adjust render settings to balance quality against speed. Use Blender’s render passes to isolate elements that may require more intensive computation, rendering them separately and composing them in post-production. This approach can save time when tweaking specific aspects of your scene without re-rendering the entire image.
Staying Abreast of Blender Updates and Community
Blender is constantly evolving, with a vibrant community contributing to its development. Staying updated with the latest improvements and engaging with fellow Blender enthusiasts can inspire your creativity and technical skills.
Keeping Up with Blender’s Evolution
Regularly update your Blender software to take advantage of the latest features and performance enhancements. Read release notes and watch tutorials on new tools and functionalities introduced in each update. Not only will this keep you at the forefront of what’s possible in Blender, but it will also ensure that you’re using the most efficient methods to achieve your desired results.
Leveraging Community Knowledge
Participate in online forums, social media groups, and Blender meetups to connect with other users. The Blender community is known for its willingness to share knowledge, tips, and tricks. By engaging with the community, you can gain insights into how other artists solve creative challenges, potentially discovering new techniques to incorporate into your own work.
Crafting Visual Stories in Blender
Blender empowers artists to craft visual stories with precision and creativity. By mastering camera techniques and understanding the principles of photography, you can produce stunning camera photos within this versatile 3D software. Remember to set up your virtual camera with care, replicate real-world camera behavior, orchestrate your lighting and composition, and polish your images with post-processing. With these strategies in hand, you’re ready to transform your Blender scenes into captivating photographic masterpieces that resonate with viewers and stand out in any portfolio.
